
Configuring Patient Tracker Rooms and Statuses
- Test Config Article
- Launching Connect
- ChartLogic EHR Release Notes
- Release Notes | Version 1.2
- Release Notes | Version 1.3
- Release Notes | Version 1.4
- Release Notes | Version 1.5
- Release Notes | Version 1.6
- Release Notes | Version 1.7
- Release Notes | Version 1.8
- Release Notes | Version 1.9
- Release Notes | Version 1.10
- Release Notes | Version 1.11
- Release Notes | Version 1.12
- Release Notes | Version 1.13
- Release Notes | Version 1.14
- Release Notes | Version 1.14.1
- Release Notes | Version 1.15.1
- Release Notes | Version 1.16
- ChartLogic EHR Help Documentation
- ChartLogic EHR Lite Product Overview
- Immunization Registries
- Patient Portal CCD View Download Transmit
- Automated Measure Calculations
- Patient Intervention
- Data Export
- Editing Goals Chart Card
- Editing Health Concerns Chart Card
- Configure Intake and Consent Forms
- Intake and Consent Forms
- Appointment Reminders
- Custom Logo
- User Preferences
- Note Co-provider
- Smartfields
- Copy Last Exam
- Patient Portal – Billing
- Hide Social Security Number
- Blood Pressure Sight Location Added to Vitals Card
- Patient Education Validation Message
- Labs Workflow
- eFax Letterhead & Cover Letter
- eFax Updates 1.8
- Patient Portal Updates 1.8
- MIPS
- Dragon Voice Speech Kit
- No Known Allergies and Problems
- Chart Timer
- Family History
- No Known function
- SNOMED Searched 1.9 Update
- Codified Data Visualization
- History and Objective Card
- Quick Picks
- Review of System 1.9 Update
- Spell Check
- Auto Save
- New Copy Exam
- Filters, sortable columns, and search on all Note cards
- Note Fields on All Cards
- Note Creation
- Patient Note Card 1.9 Updates
- Chart Real Time Data
- Date Picker on Note Creation
- Caching
- Patient Portal 1.10 Updates
- Appointment Reminder Macros
- Update Allergies to Search by Drug Class
- BMI Auto Calculation on Vitals Card
- Increase the Length on the Note Addendum
- Notes Navigation Bar
- Multi-select Adding Cards to Notes and Chart
- Note Printing
- Insert Image in Notes
- Patient Tracker 1.10 Updates
- Reporting Module
- Antepartum Care Card
- Episode of Care
- Patient Demographic Header 1.10 Updates
- Patient Education 1.10 Updates
- Clinical Note Types
- ECR Reporting
- Customer Survey
- Previous Name and Address
- Orders Card Updates
- Flowsheets
- New Chart/Note Tab Order
- Message Function
- Patient Portal Messaging 1.12
- Send a CCDA to the Patient Portal
- CCDA Reconciliation Enhancements
- Patient Demographics
- Image in letterhead
- Notifications
- Confirmations
- Opt-Out Communications
- Forms – Form Builder
- Forms – Form Management
- Forms – Patient View
- Referrals Card
- Charge Code Management
- Diagnosis Code Management
- Charge Slips
- Printing of Notes
- Insurance Carrier Configuration
- Patient Communications
- Patient Forms
- Attaching Forms to Appointment
- Patient Communications 1.14
- Patient Self Scheduling/Registration
- Changing the Dashboard Layout
- Adding and Moving Cards
- Editing and Removing Cards
- Creating a New Message
- Replying To and Forwarding Messages
- Scheduling a New Appointment
- Editing an Appointment
- Reading the Calendar
- Searching for Patients
- Editing Patient Demographic Information
- Changing the Chart Layout
- Adding and Moving Chart Cards
- Confidential Information
- Editing and Removing Chart Cards
- Uploading a Document
- Sending a Document
- Editing and Deleting a Document
- Editing an Allergies Chart Card
- Editing an Emergency Contact Chart Card
- Editing an Immunization Chart Card
- Editing a Vitals Chart Card
- Editing a Problems Chart Card
- Editing a Patient History Chart Card
- Editing a Patient Education Chart Card
- Editing an Implant Devices Chart Card
- Creating a New Note
- Reviewing Note History
- Using Smart Text
- Editing the Reason for Visit Note Card
- Editing the Chief Complaint Note Card
- Editing the History of Present Illness Note Card
- Editing the Vitals Note Card
- Editing the Growth Chart Note Card
- Editing the Review of Systems Note Card
- Editing the Physical Exam Note Card
- Editing the Problems Note Card
- Editing the Immunization Note Card
- Editing the Implant Devices Note Card
- Editing the Assessment Note Card
- Editing the Plan of Treatment Note Card
- Editing the Patient Education Note Card
- Configuring Charge Slips
- Configuring Documents
- Configuring Message Types and Contact Groups
- Configuring Note Types
- Configuring Patient Tracker Rooms and Statuses
- Configuring Smart Text
- Searching the Audit Log
- Creating a New Task
- Searching the Worklist
- Reassigning a Task
- Editing your Account
- Changing your Password
- Viewing the Patient Tracker
- Using the Patient Tracker
- User Creation
- Patient Creation
- Logging In and Logging Out
- Configuring Appointment Categories, Types, and Blocks
- Configuring Schedule Blocks
- Configuring Schedule Resources
- Editing the Allergies Note Card
- Editing the Medications Note Card
- Editing the Orders Note Card
- Editing the Patient History Note Card
- Inviting a New User
- Patient Portal Appointments
- Patient Portal Chart
- Patient Portal Messaging
- Patient Portal Requests
- Patient Portal Prescription Requests
- Patient Portal Appointment Requests
- Editing and Creating Charge Slips
- Attach Charge Slips to Patient Note
- Emergency Access
- Note Amendments
- Auto Timeout
- Data Export
- Patient Safeguard
- Reconcile
- CDA View, Download, and Transmit
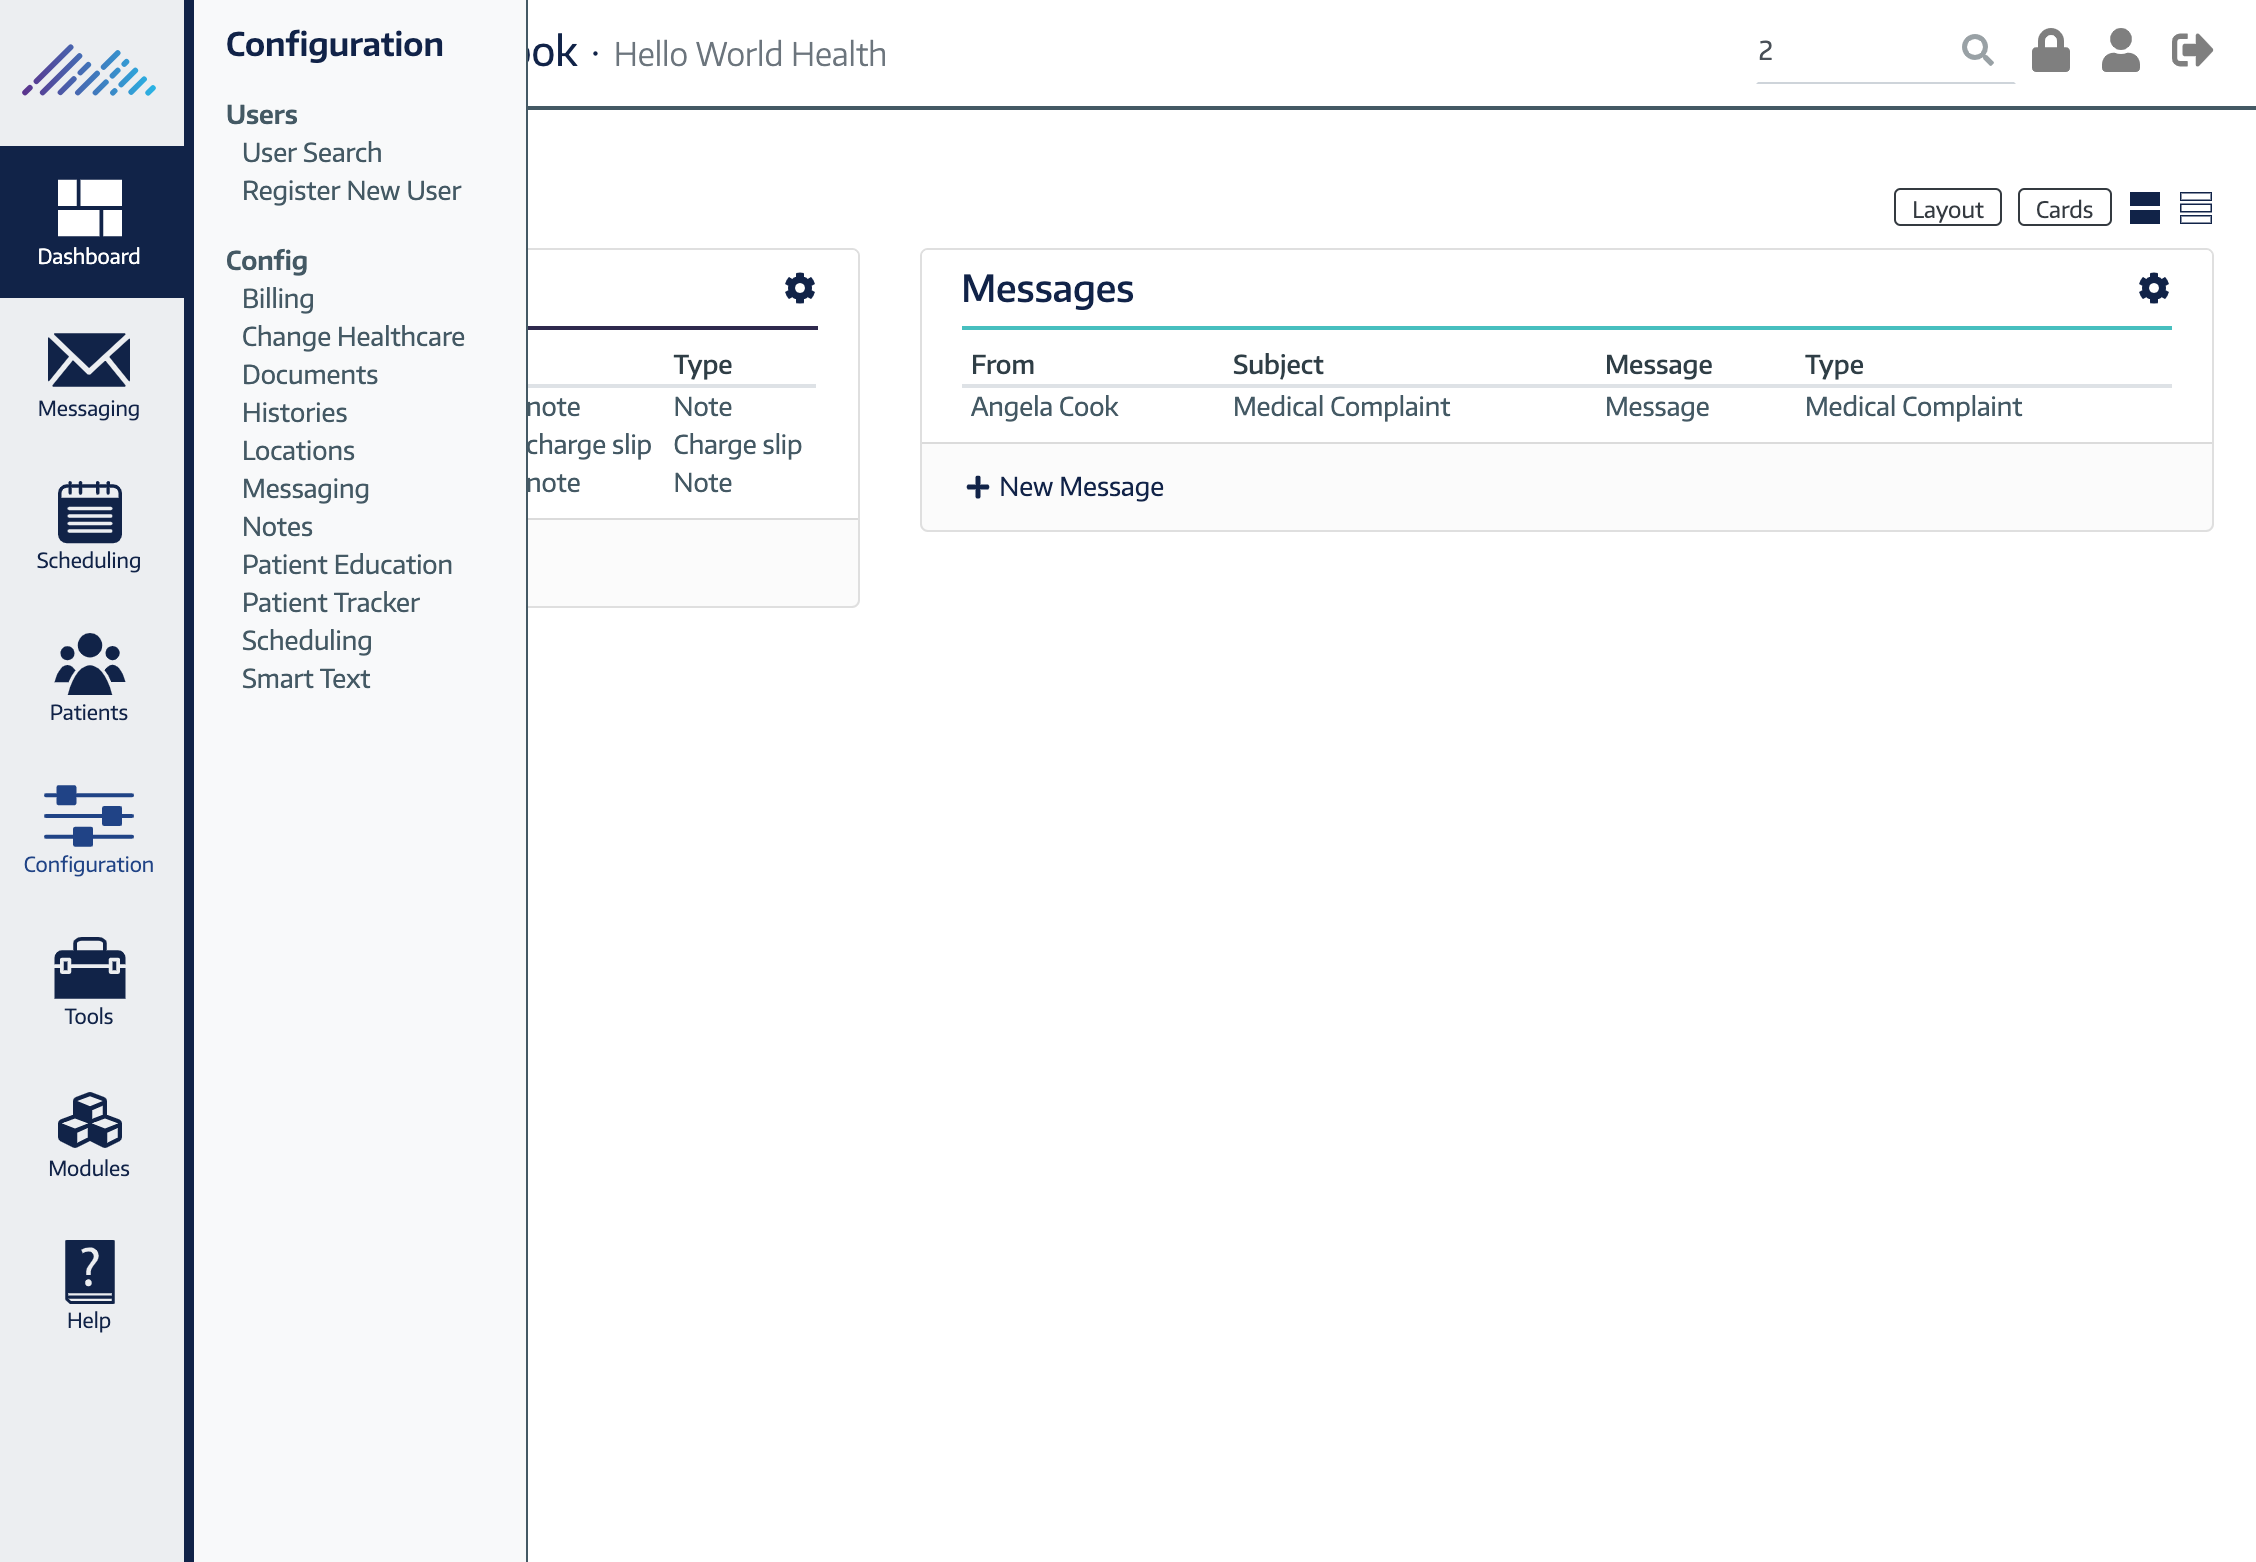
Each patient tracker room also has its own customizable settings to allow you to properly track your patients. To get to the configuration interface, click the Configuration block in the side panel and then Patient Tracker in the menu.
To edit the Tracker Rooms, simply click the Edit Rooms link in the lower left corner of the Rooms card.

This will expand the card to the traditional edit view, with fields on the left and added rooms on the right.
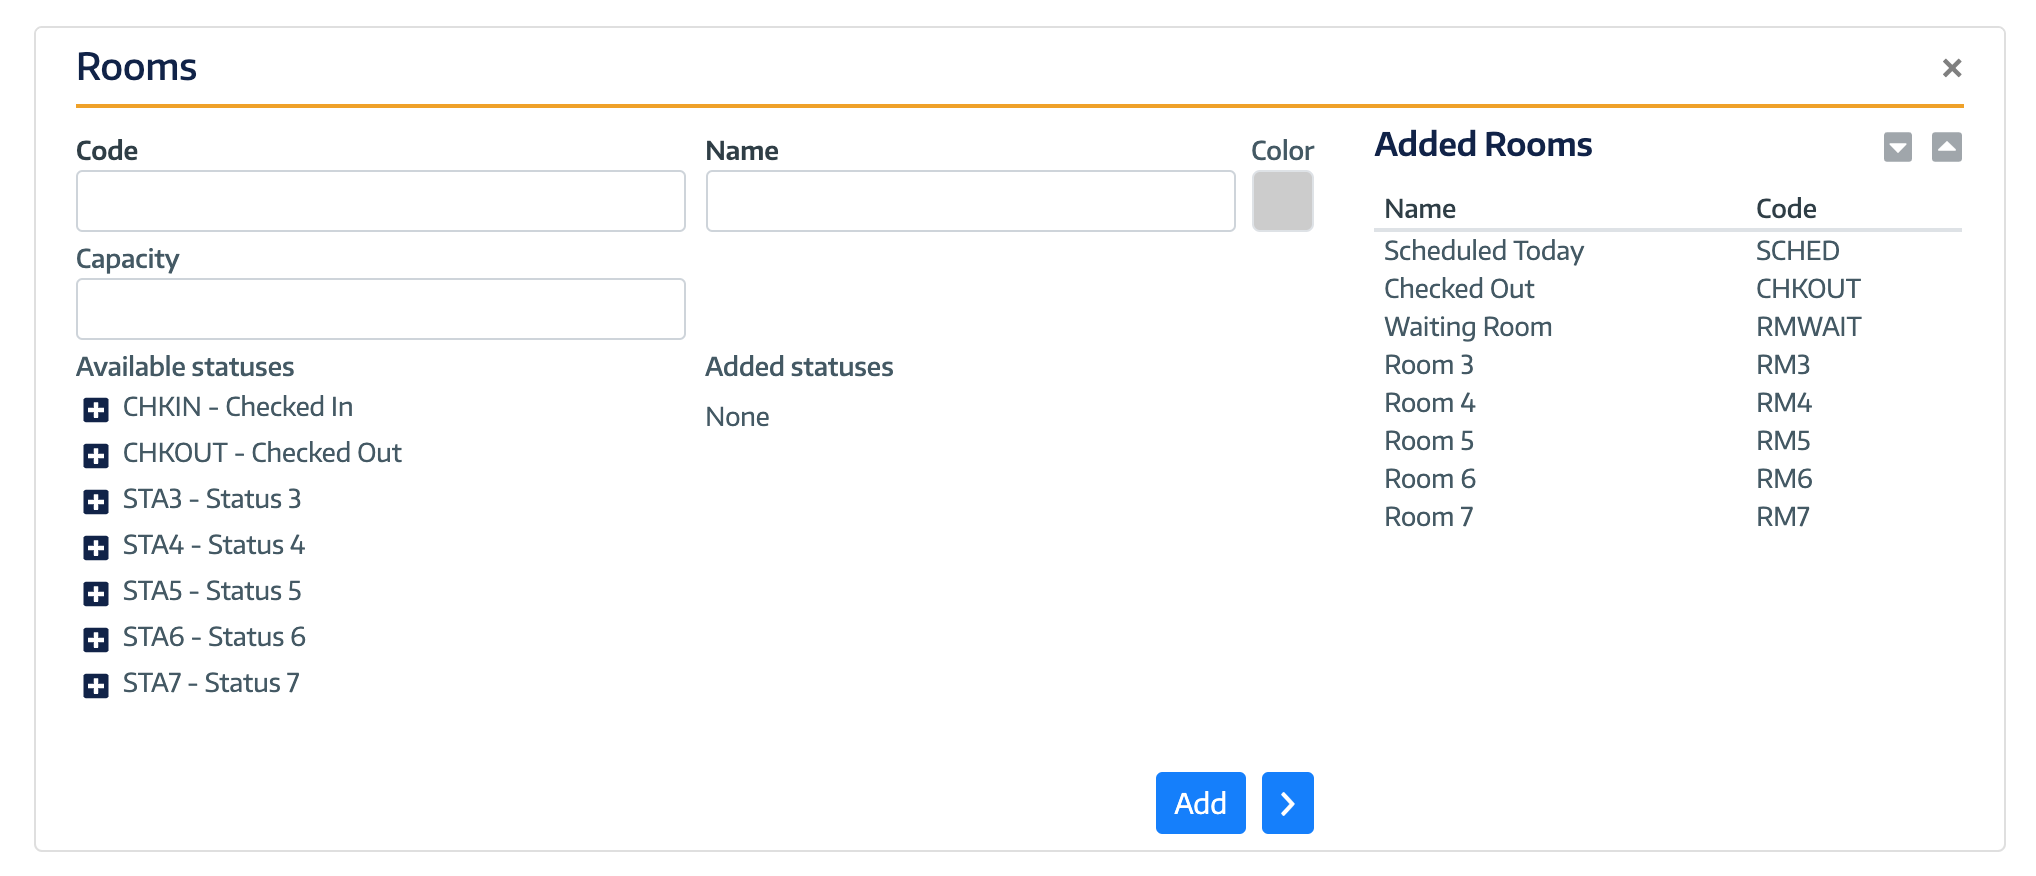
The first thing you need to do is add your information in the respective text boxes. Then you can select an indication color for each status by using the color picker. Each room also comes with a customizable capacity determining how many people you want to allow in that room. You can still add more in the actual tracker, but a warning will pop up telling you you’ve reached capacity. Once you’ve added that, all you need to do is determine what statuses you want the rooms to be able to hold using the slosh buckets below. Once you’ve entered all the information you need, simply click the Add button to add your room. If you want to edit a room, you’ll need to select the room from the list on the right, edit the fields you need, and then click the Save button.
The ChartLogic EHR Patient Tracker is entirely customizable and built to be perfect for you. Each status has its own customizable settings to allow you to properly track your patients. To get to the configuration interface, click the Configuration block in the side panel and then Patient Tracker in the menu.

To edit the Tracker Statuses, simply click the Edit Statuses link in the lower left corner of the Tracker Statuses card.

This will expand the card to the traditional edit view, with fields on the left and added statuses on the right.

The first thing you need to do is add your information in the respective text boxes. Then you can select an indication color for each status by using the color picker. Each status also comes with a customizable time threshold determining how long you want people to be allowed to wait in that status before you get a notification of a holdup. Once you’ve added that, all you need to do is determine what rooms you want the status to be available in by using the slosh buckets below. Once you’ve entered all the information you need, simply click the Add button to add your status. If you want to edit a status, you’ll need to select the status from the list on the right, edit the fields you need, and then click the Save button.
Connect
1220 E 7800 S, Floor 3
Sandy, UT 84094
Toll-Free (888) 337-4441
