
Post Insurance Payments (EDI Remittance)
If you receive insurance payments via EDI Remittance, performing the Transfer EDI Files step during the course of Claims submission will retrieve any available remittance files that may be in your inbox at the clearing house.
Review the remittance/remark codes on the remittance EOB and compare to your TABLE—CAR CODES. As the remit is automatically being posted these codes can perform some automation for you. This is where you can select to mark a service in Review, create a transaction note using the Short Description and checkbox to create a TX Note. You can also identify which codes should perform a Write off or are used as UCR transactions. See the Tables section of this manual for further instructions on how to maintain the CAR Codes table.
- From the Transactions menu on the left side of the screen, select EDI Remittance.
The EDI Remittances screen will appear with a list of all unprocessed remittances, as shown below.

- Identify the remittance you wish to post, using Payer ID, Trace Number, and Amount, and then double-click to view the details.
The individual EDI Remittance screen will appear, as shown below. To view the patients included in the Remittance file, click the Claim Detail tab at the bottom of the screen.

- Click the green Process button on the toolbar.
The EDI Remittance progress bar will appear, as shown below.
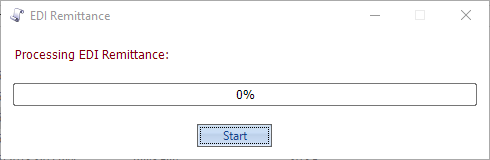
- Click Start.
The Select Dates dialog box will appear, as shown below.
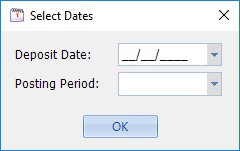
- Select the Deposit Date and Posting Period (these will be entered in the Transaction Batch that will automatically be created in this process) and click OK.
EDI Remittance processing occurs in the background and takes several minutes. Do not close the dialog box until it finishes (you may minimize it and work on something else while it runs). The progress bar shows the Prep Run ID and the percentage finished at any given moment. When it reaches 100%, the button will change from Running to Done, as shown below.
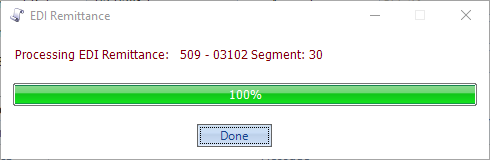
- Click Done.
The Process Log will be populated with any messages that were generated during processing, as shown below.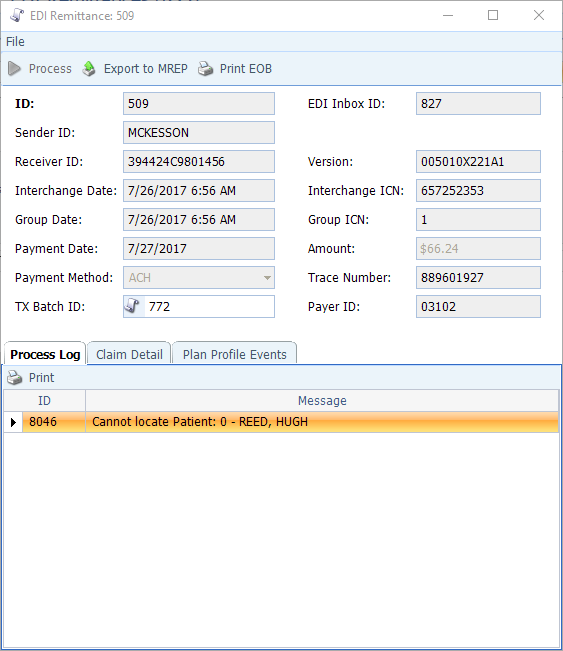
- Sort and review the Process Log (clicking on the Message column heading sorts to group all messages of the same type together). Some common situations documented in the Process Log are as follows:
- The Patient cannot be located to post a service to (possible name change)
- Service level information is In these cases, you will need to manually post the transactions into the Payment/Adjustment batch created by the Remittance processing.
- The posted payment created a credit balance on the service. You will need to review and determine if the credit is patient or insurance and assign the appropriate status P or X
- Crossover alerts to indicate both who Medicare has crossed the claim onto and which plan you have on the encounter (sometimes they are crossing over to an outdated plan).
- Alerts if a Reversal is being included.
- Some of the messages are informational only; indicating a mismatch on the policy ID you have on file comparing to the policy ID included in the remit. These can typically be ignored as the transaction will still post.
- Alerts if Provider Adjustments (e.g. take-back, interest, or incentive payment) were made. These transactions automatically create a Patient account with a Last Name of “PLB*XXXXX” (the X’s being the 5- digit EDI Payer ID). You will need to review the EOB for details and transfer the transactions to the provider who rendered the service (must be done before the Payment/Adjustment Batch is closed).
- Click the scroll icon on the TX Batch ID field to go to the Payment/Adjustment Batch and review/edit the Remittances created by the EDI Remit Processing run.
- Once you have reviewed the Payments & Adjustments Batch and made the necessary corrections, you may mark it Ready to Close as you would any other Batch.
Connect
1220 E 7800 S, Floor 3
Sandy, UT 84094
Toll-Free (888) 337-4441
