
Reports
- Direct Message Report
- Human Readable CCDA
- Adding an Implant Device
- Vaccine Screen Changes
- Automatically Import Pharmacies
- Audit Log
- Viewing Secure Messages and requests in the EHR
- Clinical Note Types
- Previous Name and Address
- CCDA Export Subset of Patients
- Additional CCDA Export Data
- Searching for Patients
- Managing Patient Information
- Patient Exams
- Schedule
- Flowsheets
- Patient Intervention and Health Maintenance Profiles
- Case Management
- Orders
- Sending and Receiving Messages
- Reports
- Dragon Naturally Speaking Voice Integration
- Vocabulary Editor
- Diagnosis Director
- Primary Care Features
- E/M Consultant
- Patient Tracker
- Referring Patients
- Referral Reply Letter
- Fax Viewer
- Legacy Audit Trail
- Error Log
- DataShare
- ICD-10 Setup & Training
- CCDA Data Export Guide
- Regulatory Report
Reports
ChartLogic allows users to search through reports (which includes exams, messages, and addendums), which can easily be printed or faxed.

To access unfinished reports:
- From the ChartLogic Main Screen, go to Reports > Unfinished Exams/Addendums.
- Set the date range by selecting dates from the drop-down calendars next to the Date Range fields.
- Select provider.
Note: To select all providers, click Select All next to the search bar.
- Check the report you would like to search by clicking the appropriate radio button (Exams & Addendums, Exams, Addendums, or Forms).
- Click Query. Results will display in the space below the query options. Query results can be sorted by DOS, Patient Name, Patient ID, Diagnosis, or Provider Name.
- Click Print or Fax, depending upon which action you would like to take.
- Click OK to exit the Unfinished Exams/Addendums.
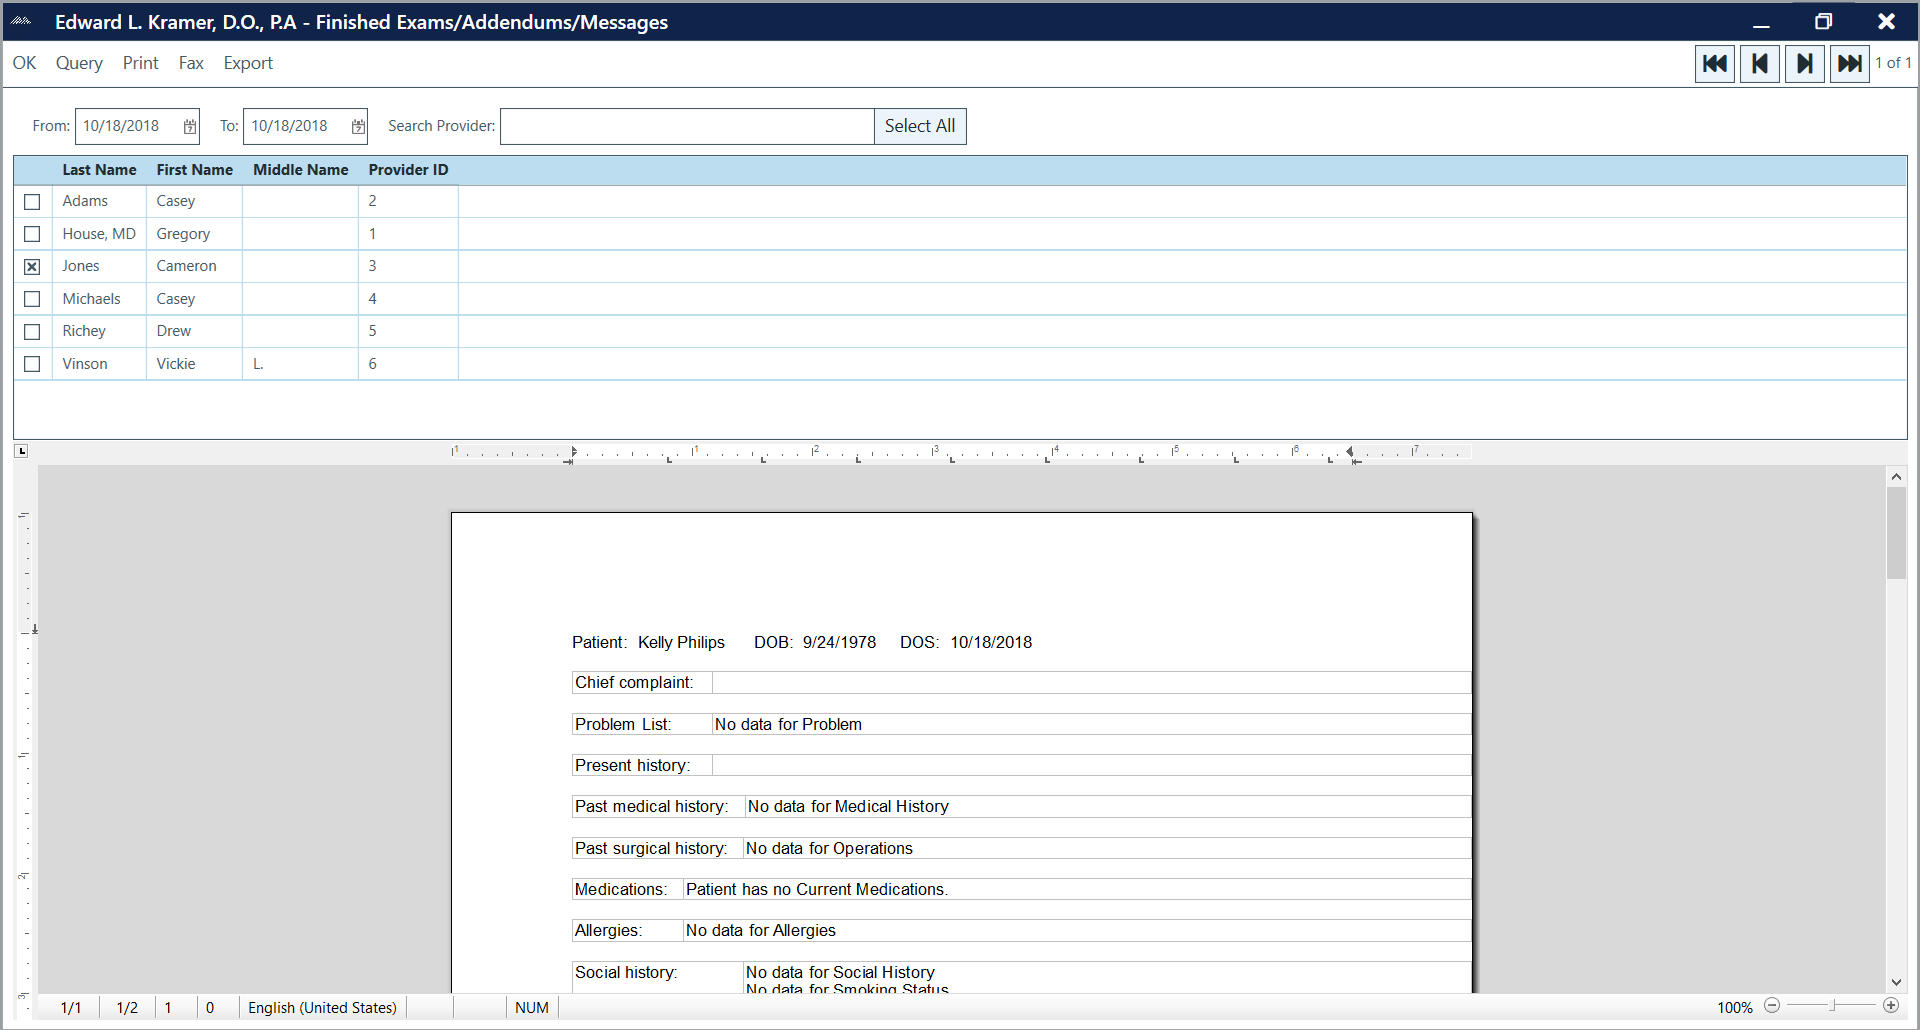
To access finished reports:
- From the ChartLogic Main Screen, go to Reports > Print Finished Exams/Addendums/Messages.
- Set the date range by selecting dates from the drop-down calendars next to the Date Range fields.
- Select provider.
Note: To select all providers, click Select All next to the search bar.
- Click Query. Results will display in the space below the query options. Use the blue arrows across the top of the screen to navigate through the pages.
- Click Print or Fax, depending upon which action you would like to take.
- Click OK to exit the Print Finished Exams/Addendums/Messages window.

To access the Superbill Report:
- From the ChartLogic Main Screen, go to Reports > Superbill Report.
- Set the date range in the Date Range fields.
- Select the provider from the Provider drop-down list.
- Click Query. Results will display below query options. Query results can be sorted by Exam Finished, DOS, Last Name, First Name, and Diagnosis.
Superbill Report options:
- Open Exam: Opens selected exam.
- Print Walk-out Bill: Prints the walk-out bill for the selected exam.
- Preview Walk-out Bill: Allows user to preview bill before printing or faxing.
- Fax Walk-out Bill: Faxes the walk-out bill for the selected exam.
- Print Range: Prints all the superbills for the exams listed in the query results.
- Preview Range: Allows user to preview the superbills listed in query results before printing or faxing.
- Fax Range: Faxes all the Superbills for the exams listed in the query results.
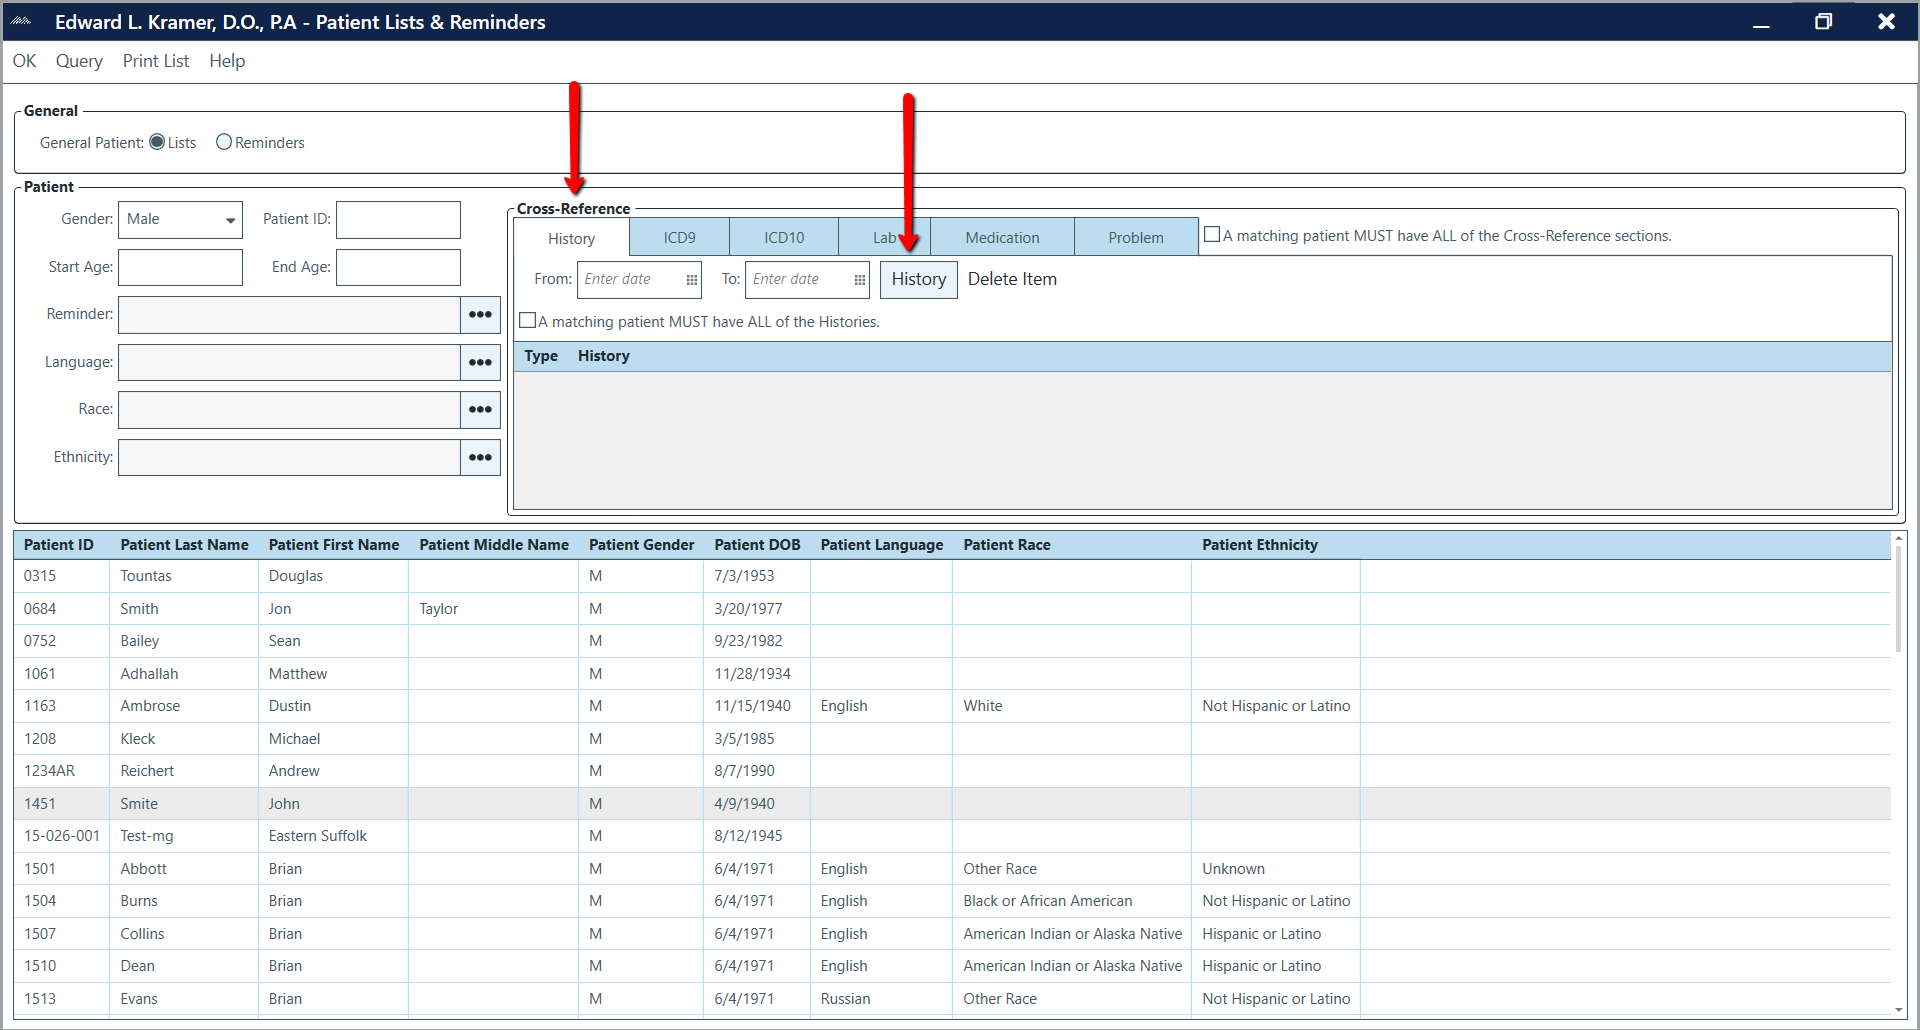
To access patient lists & reminders:
- From the ChartLogic Main Screen, go to Reports > Patient Lists & Reminders.
- Next to General Patient, select List or Reminders, depending on what you would like to search for.
- Fill in the patient’s gender and age range using the drop-down menus.
- For the Reminder, Language, Race, and Ethnicity fields, select the icon to the right of the text box to select the appropriate option(s).
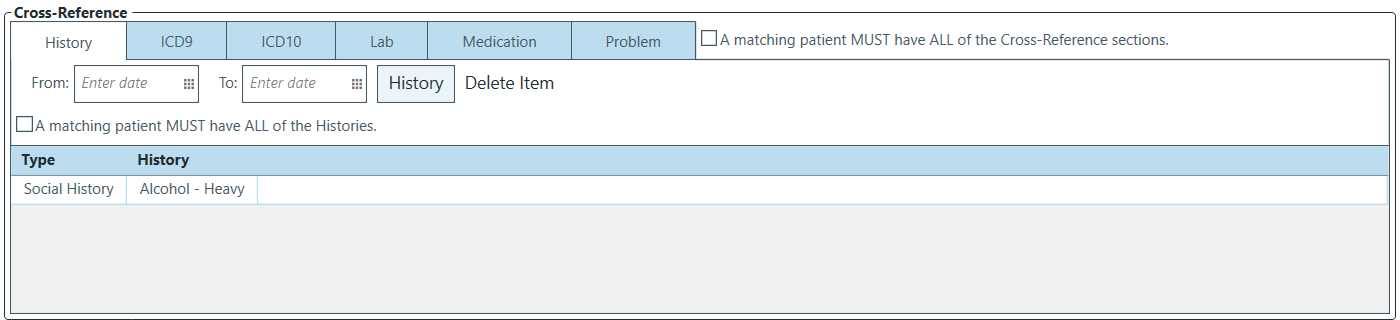
- For a narrower search, fill in additional information under the History, ICD9, ICD10, Lab, Medication, and Problem For example, to input a history item, click History, and then click the blue History button on the right to bring up history items. Check the history items you would like to include in your search and click OK. Results will be displayed in the Cross-Reference box. Repeat this process for ICD9, ICD10, Lab, Medication, and Problem as necessary.
- Once all search criteria has been entered, click Query.
Note: Checking “A matching patient MUST have ALL of the Histories” (or ICD9s, ICD10s Labs, Medications, or Problems depending on which tab is opened) will limit search results to only patients who match the exact criteria.
- Query results will be displayed below. Results can be sorted by Patient ID, Patient Last Name, Patient First Name, Patient Middle Name, Patient Gender, Patient DOB, Patient Language, Patient Race, or Patient Ethnicity.
- To print the list, click Print List.
- Click OK to exit the Patient Lists & Reminders window.
To access the Report Manager:
The report manager is covered in the meaningful Use section and can be seen by Clicking Here.
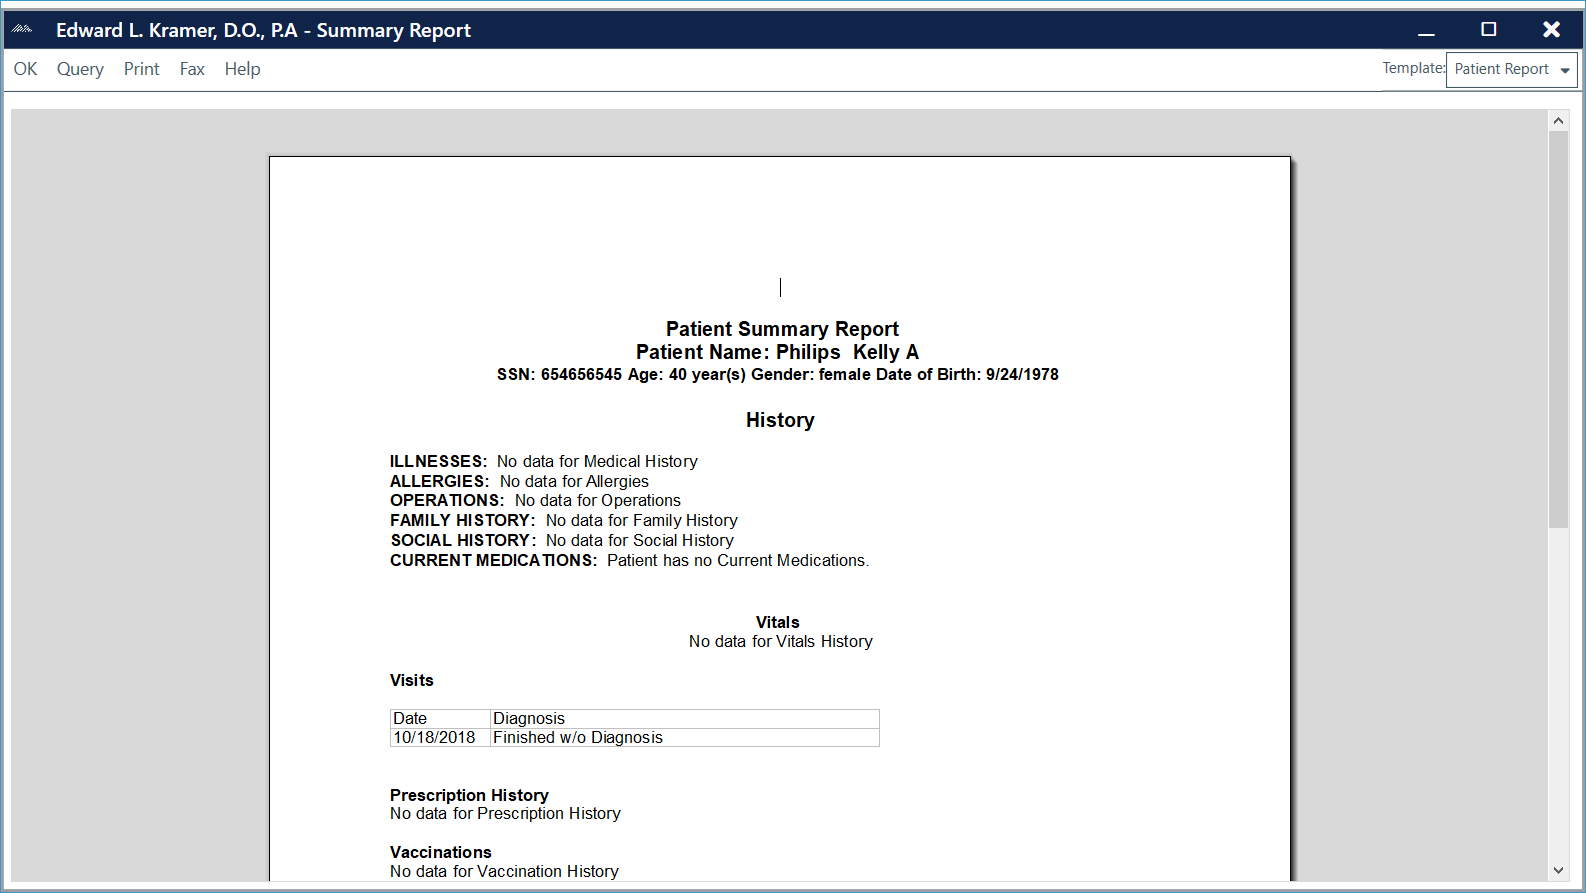
To access patient summary report:
- Select the patient from the ChartLogic Main screen.
- Go to Reports > Patient Reports > Summary for [Patient].
- Select the report template from the Template drop-down menu.
- Click Query. Summary report will display.
- Click Print to print.
- Click OK to return to the ChartLogic Main Screen.

To access patient case report:
- Select the patient from the ChartLogic Main Screen.
- Go to Reports > Patient Reports > Case for [Patient].
- Click on Print to print.
Note: Check “Print/Fax Full Document” to print the full document.
To view a case:
- Select the case from the Case window.
- Click on an encounter and then click on View.
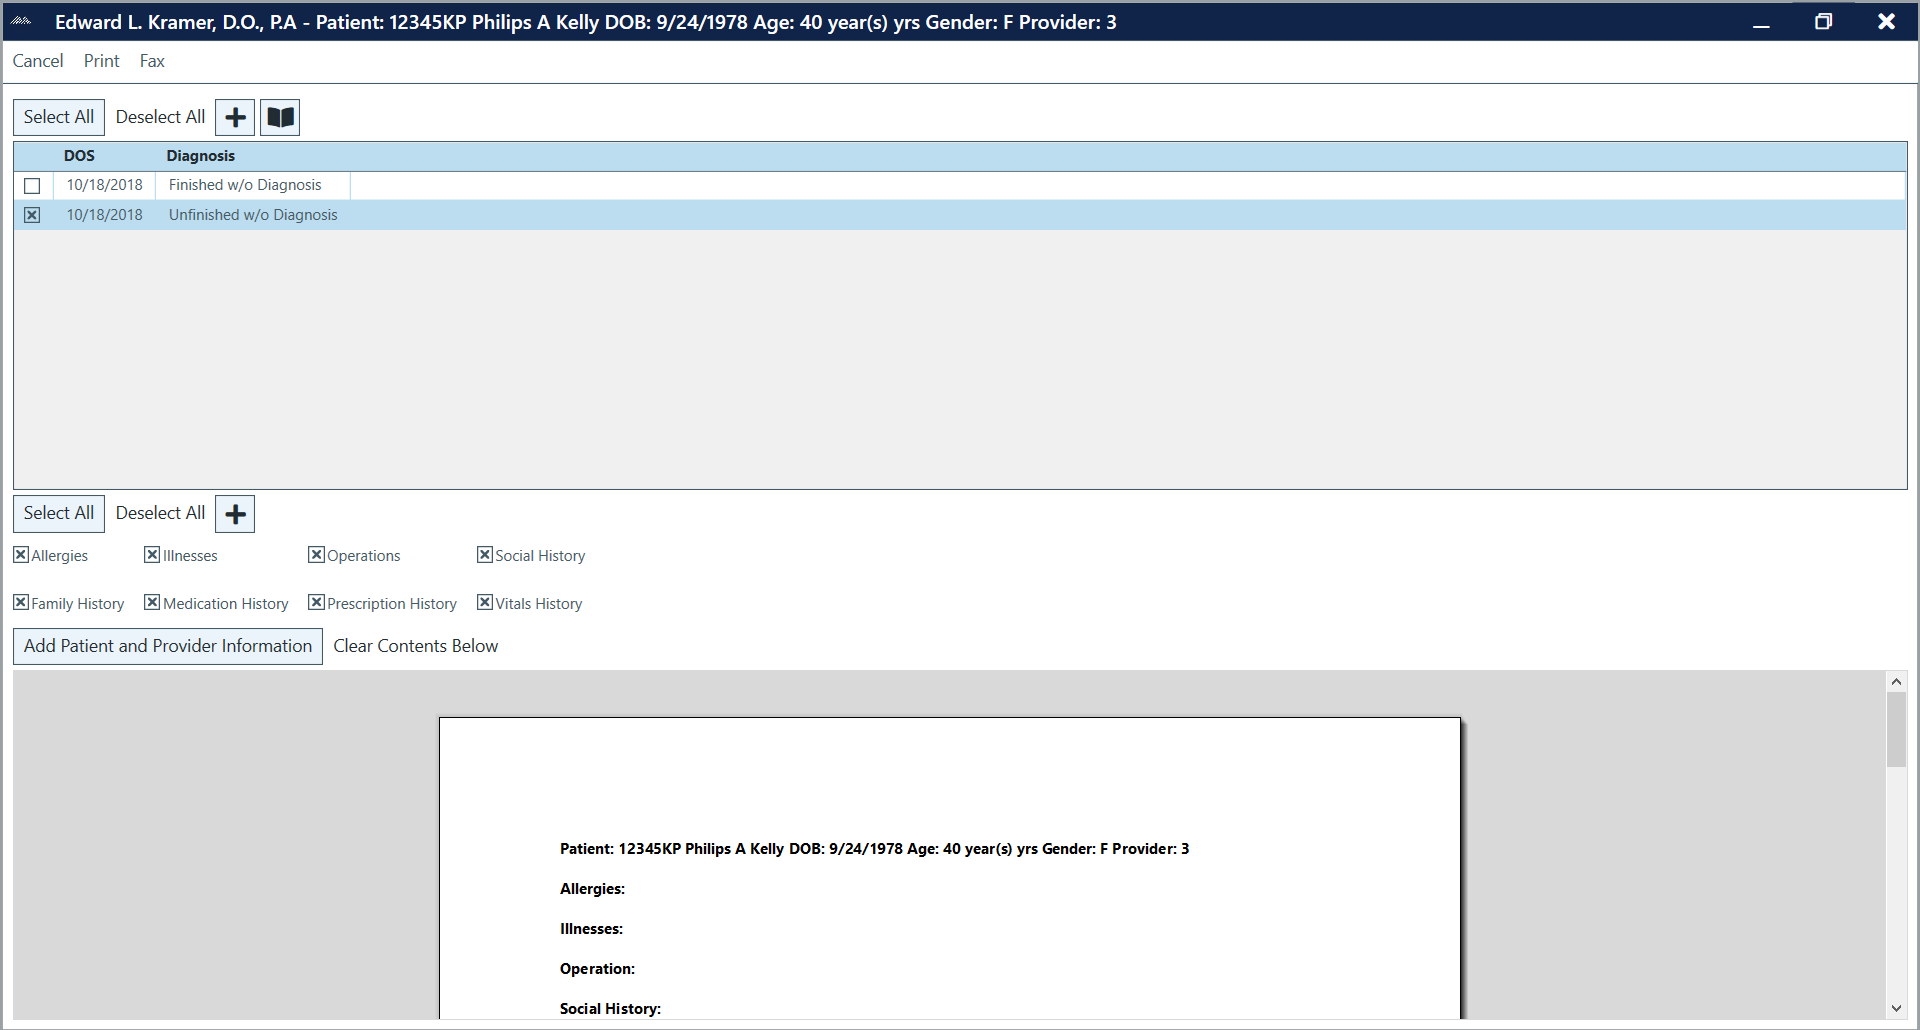
To access patient charts report:
- Select the patient from the ChartLogic Main Screen.
- Go to Reports > Patient Reports > Charts for [Patient].
- Check the exams you would like to include in your report.
- Click Add.
Note: To check all the exams listed, click on Select All.
- Beneath the exam list, check off any categories you would like to include in the report.
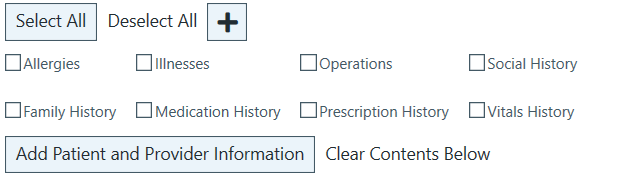
- Click Add.
Note: Click on Add patient and Provider Information to include information at the top of the report.
Note: If you’d like to start over, click on Clear Contents Below.
- Print or fax if desired.
To access prescription report:
- See ePrescribe section or click Here.

To access lab report:
- Select the patient from the ChartLogic Main Screen.
- Enter the date range in the date range fields.
- Click Query to view lab reports.
- To open a lab report, select the report and click on Open Lab.
- When finished, click OK.
Connect
1220 E 7800 S, Floor 3
Sandy, UT 84094
Toll-Free (888) 337-4441
