
Post Insurance Payments (Manual)
As you receive payments from insurance companies, you will use the information provided on the EOB to post Payments and Adjustments in MBSWin. Payments & Adjustments are posted in Batches. It is up to your practice to decide how to group your Payments & Adjustments, but many like to separate them into Batches based on separate insurance checks. Perform the following steps to enter a Batch of Insurance Payments:
- From the Transactions menu on the left side of the screen, select Payments & Adjustments.
The Payment & Adjustment Batches screen will appear, as shown below.
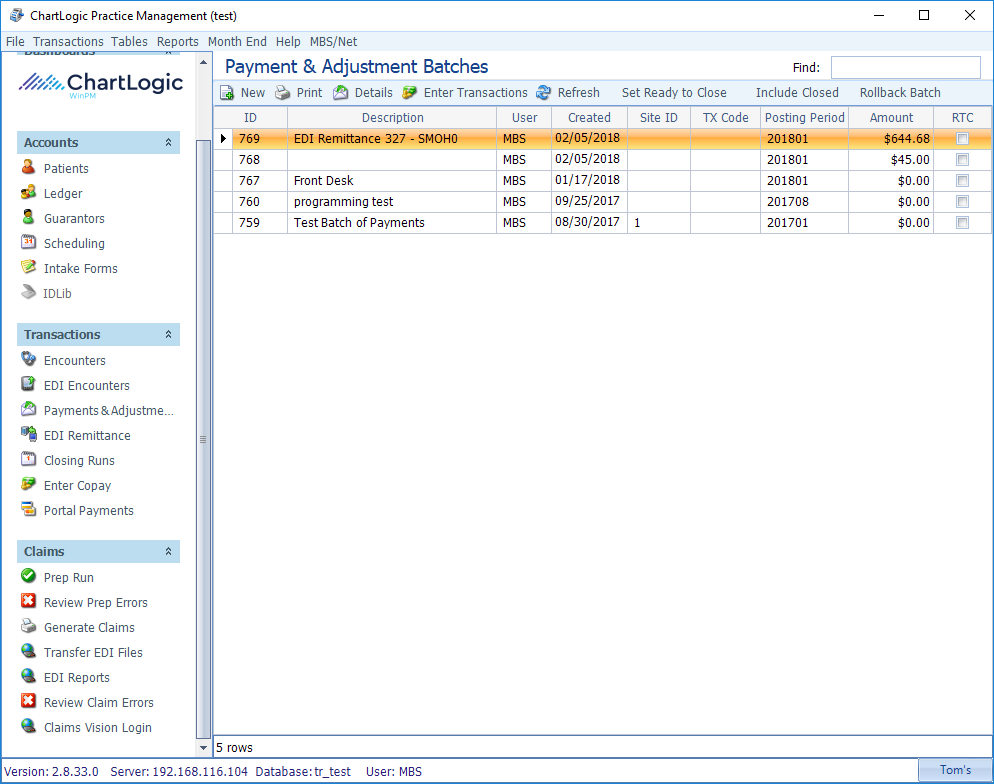
- Click New on the toolbar to create a new Batch.
The Transaction Batch screen will appear, as shown below.
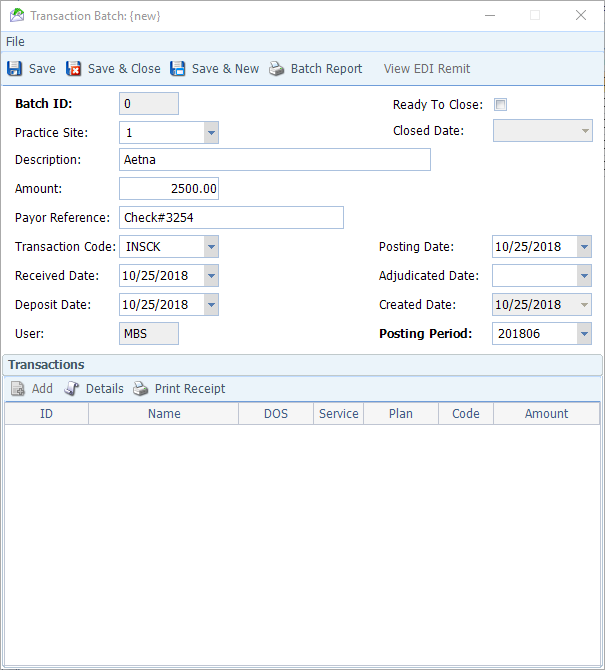
- Fill out the necessary fields.
- Practice Site: Selecting the Practice Site here causes it to default into each Payment transaction screen rather than your having to select it each Fill in this field only if all Payments are going to the same Practice Site.
- Description: Enter a useful description for the batch. In this example, since the payment we’re applying is from Aetna, we simply enter Aetna in this field.
- Amount: Enter the total amount of the Payment (found at the bottom of the EOB; if posting payments from more than one EOB, calculate the total by adding them all together and enter that amount here).
- Payer Reference: Enter a useful reference here that will help you trace the batch back to the EOB later if necessary (i.e. insurance check number).
- Received Date: Select the date on which you received the Payments.
- Deposit Date: Select the date on which you plan to deposit the money.
- Posting Date: Select the date on which you’re posting the Payments.
- Posting Period: Select the appropriate Posting Period (does not correspond to the Posting Period of the original Encounter, but rather to the Period in which the money is applied to the practice).
- Click Save.
The Add button is now active, and you can begin posting Transactions.
- Click Add on the Transactions toolbar.
The Select Encounter Services screen will appear, as shown below.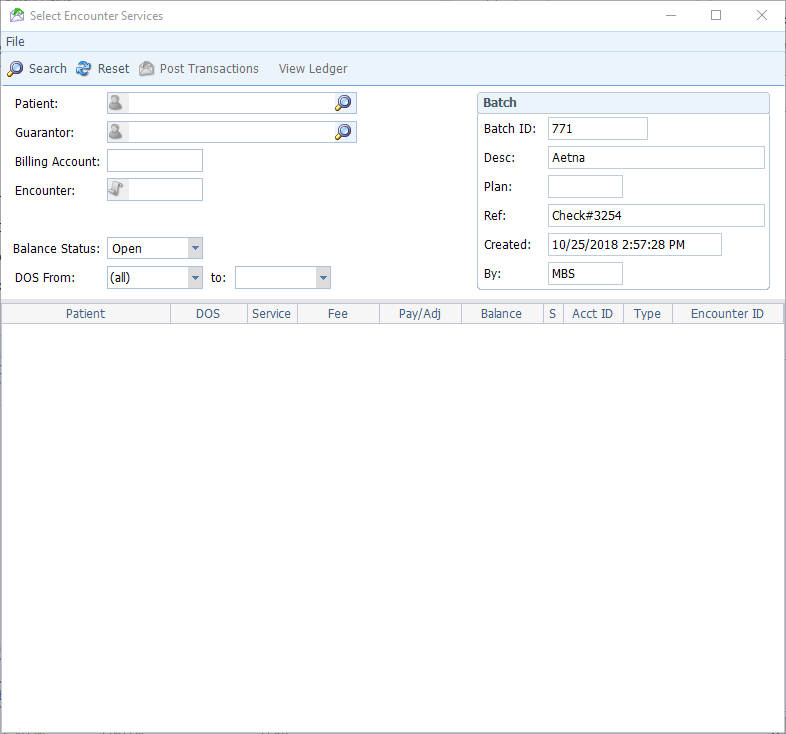
- You can locate the appropriate Services in one of two ways:
- Enter the Patient ID, Guarantor ID, or Billing Acct. Doing so and clicking Search on the toolbar will bring up a list of open Services awaiting payment, as shown below. You will need to click and drag over the desired rows to select them and then click Post Transactions.

—Or—
- Enter the Encounter number (easiest method), which should appear on the EOB, and click Search on the toolbar.
The Payments & Adjustments screen will appear, as shown below.

- Review and enter information as necessary in the top portion of the screen.
- Transaction Code: Defaults from the Batch if entered there. If not, select the appropriate code from the drop-down.
- Ins Plan: Defaults from Encounter. If there were multiple plans on the Encounter, will default to the primary insurance the first time a payment is applied, then automatically pass it down to the secondary, and then tertiary as payments are applied. If, for some reason, the incorrect Insurance Plan defaults, select the correct one from the list on the right side of the screen.
- Payer Reference: Defaults from Batch if entered there.
- Amount: The amount of the entire payment.
- Remaining: As dollar amounts are applied to each Service line, they will be subtracted from the total Amount, as shown in the Remaining amount. You will not be able to save until the total Amount balances against the sum of the Amounts applied to the Services (i.e. Remaining = 0).
- Using the information supplied on the EOB, enter the correct amounts for each Service line item, tabbing to get from field to field.
- Allowed: Enter the allowed amount.
- Con Adj: Click UCR (or keyboard shortcut Alt+U) to calculate the Contractual Adjustment (Fee minus Allowed)
- Amount: Enter the amount of the payment.
- Deduct: Enter the deductible amount (if indicated on EOB)
- Co Ins: Enter the co insurance amount (if indicated on EOB)
- Co Pay: Enter the Co Pay amount (if indicated on EOB)
- IOPA: Impact of Prior Adjudication is entered for secondary payments in the case of a Patient having three insurance plans.
- S: You can change the status manually (i.e. from I-Insurance to P-Patient), but if you don’t, it will prompt you upon saving, ask you if you want the Status changed, and change it for you.
- Prev Balance: Shows the original balance minus any previous payments or adjustments. In the example above, since a $25 Copay had been applied to the $73 charge at the time of service, the Previous Balance is $48.
- New Bal: This is the balance going forward after the current Payment or Adjustment is applied.
- After Payments and Adjustments have been added for all Services, click Save & Close.
A new Select Encounter Services screen will appear. Repeat the above steps for the next Encounter (or, if you are done, simply close the screen).
Once you have posted all of the Payments for the Batch, your Transactions section should look like the example below, with a combination of Payments and Adjustments.

- Check the Ready to Close box.
If there are any errors an error box will appear like below.
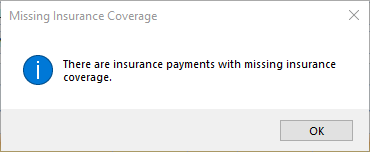
Click OK, and then double-check all of your information against the EOB. Once you have located and corrected the error, check the Ready to Close box again.
- Click Save & Close.
Connect
1220 E 7800 S, Floor 3
Sandy, UT 84094
Toll-Free (888) 337-4441
