
General Navigation
Billing contains its own Reports menu. Each report serves a different function in the workflow and can either be printed, viewed in preview mode, or exported to a file.
When viewed in preview mode, the toolbar shown below gives the following options:
![]()
 Export: Click to save in Crystal Reports, Word, Excel, Access, or Adobe.
 Print: Click to send the report to the printer.
 Refresh: Click to restore the report’s original appearance.
 Left/Right arrows: Click the arrows to move forward and backward through the pages.
 Go to Page: Allows you to go to a specific page.
 Find Text: Use to search for keywords within the report.
 Zoom: Use to enlarge or shrink the image on the preview screen.
The Scheduling Report allows you to present your daily schedule in a variety of ways, depending on purpose, as follows:
- Reception Report:

- Reception Report (Expanded):

- Chart Pull Report:

- Resource Report:

- Encounter Form Label

- Address Labels:

Perform the following steps to run a Scheduling Report:
- From the Reports menu at the top of the Scheduling screen, select Scheduling.
The Scheduling Reports criteria screen will appear, as shown below.
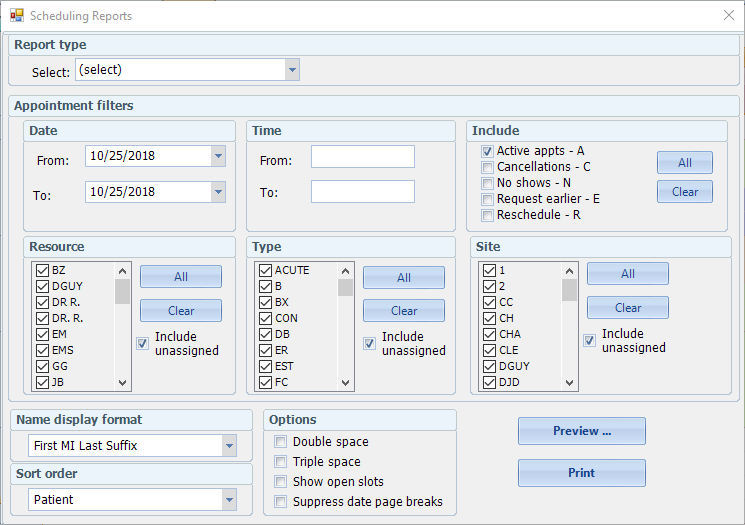
- Select the Report Type from the drop-down (see above for examples of what information each report provides).
- Select the desired Appointment Filters.
- Date: Select the desired date range.
- Time: Select the desired time range.
- Include: Check the boxes of all Appointment Statuses you wish to show on the report.
Note: The default is Active, but this is useful for running reports to track Cancellation, No Show, or Request Earlier.
- Resource: Check the boxes of desired Resources. Use All and Clear buttons to select or deselect entire list (defaults to All).
- Type: Check the boxes of desired Appointment Types. Use All and Clear buttons to select or deselect entire list (defaults to All).
- Site: Check the boxes of desired Sites. Use All and Clear buttons to select or deselect entire list (defaults to All, but some reports only allow one Site to be selected at a time)
- Name Display Format: Select from the drop-down.
- Sort Order: Select from the drop-down
- Options: Check boxes that
- Click Preview (to view on screen) or Print (to send directly to printer)
List of Unbilled Encounters
The Unbilled Encounters report provides a list of all Appointments (excluding no-shows and cancellations) that are not yet linked to an Encounter. Running this report on a regular basis prevents encounters from falling through the cracks due to Appointments going unbilled. Perform the following steps to run the Unbilled Encounters report:
- From the Reports menu at the top of the Scheduling screen, select Unbilled Encounters.
The Selection Criteria screen will appear, as shown below.
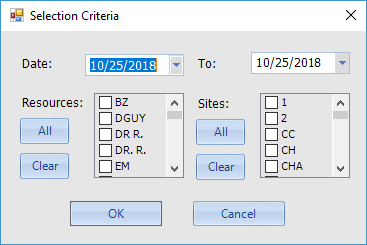
- Date/To: Enter the desired date range.
- Resources/Sites: Check all Resources and Sites to be captured in the report, or click All.
- Click OK.
A print preview screen will appear, as shown below.

- Review the list to see which appointments have not been linked to Encounters.
Note: An asterisk to the left of any item indicates that an Encounter exists for that Patient on that Date, but is not linked to this Appointment ID. The next step would be to locate the Encounter to determine if it is the correct one.
- Print or export the list and research each item, creating Encounters or linking to existing Encounters as needed.
Print Patient Demographics
The Patient Demographics report provides a concise printout of the demographic information for all patients scheduled for a specified timeframe. This allows the receptionist to provide the Patients with their current registration information as they check in to ensure that any changes are captured. Perform the following steps to print the Patient Demographics report:
- From the Reports menu at the top of the Scheduling screen, select Patient Demographics.
The Demographics Report Selection Criteria screen will appear, as shown below.
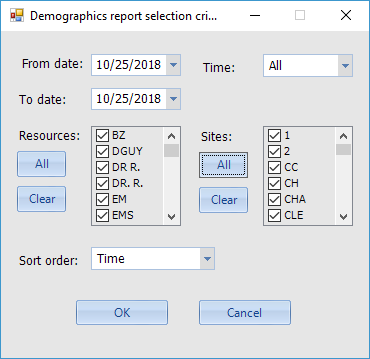
- From date/To date: Select the desired date range.
- Time: Select AM, PM, or All.
- Resources/Sites: Check all Resources and Sites to be captured in the report, or click All.
- Sort order: You may either sort chronologically by Time or alphabetically by Name.
- Click OK.
A print preview screen will appear, as shown below, with one Patient record per page.
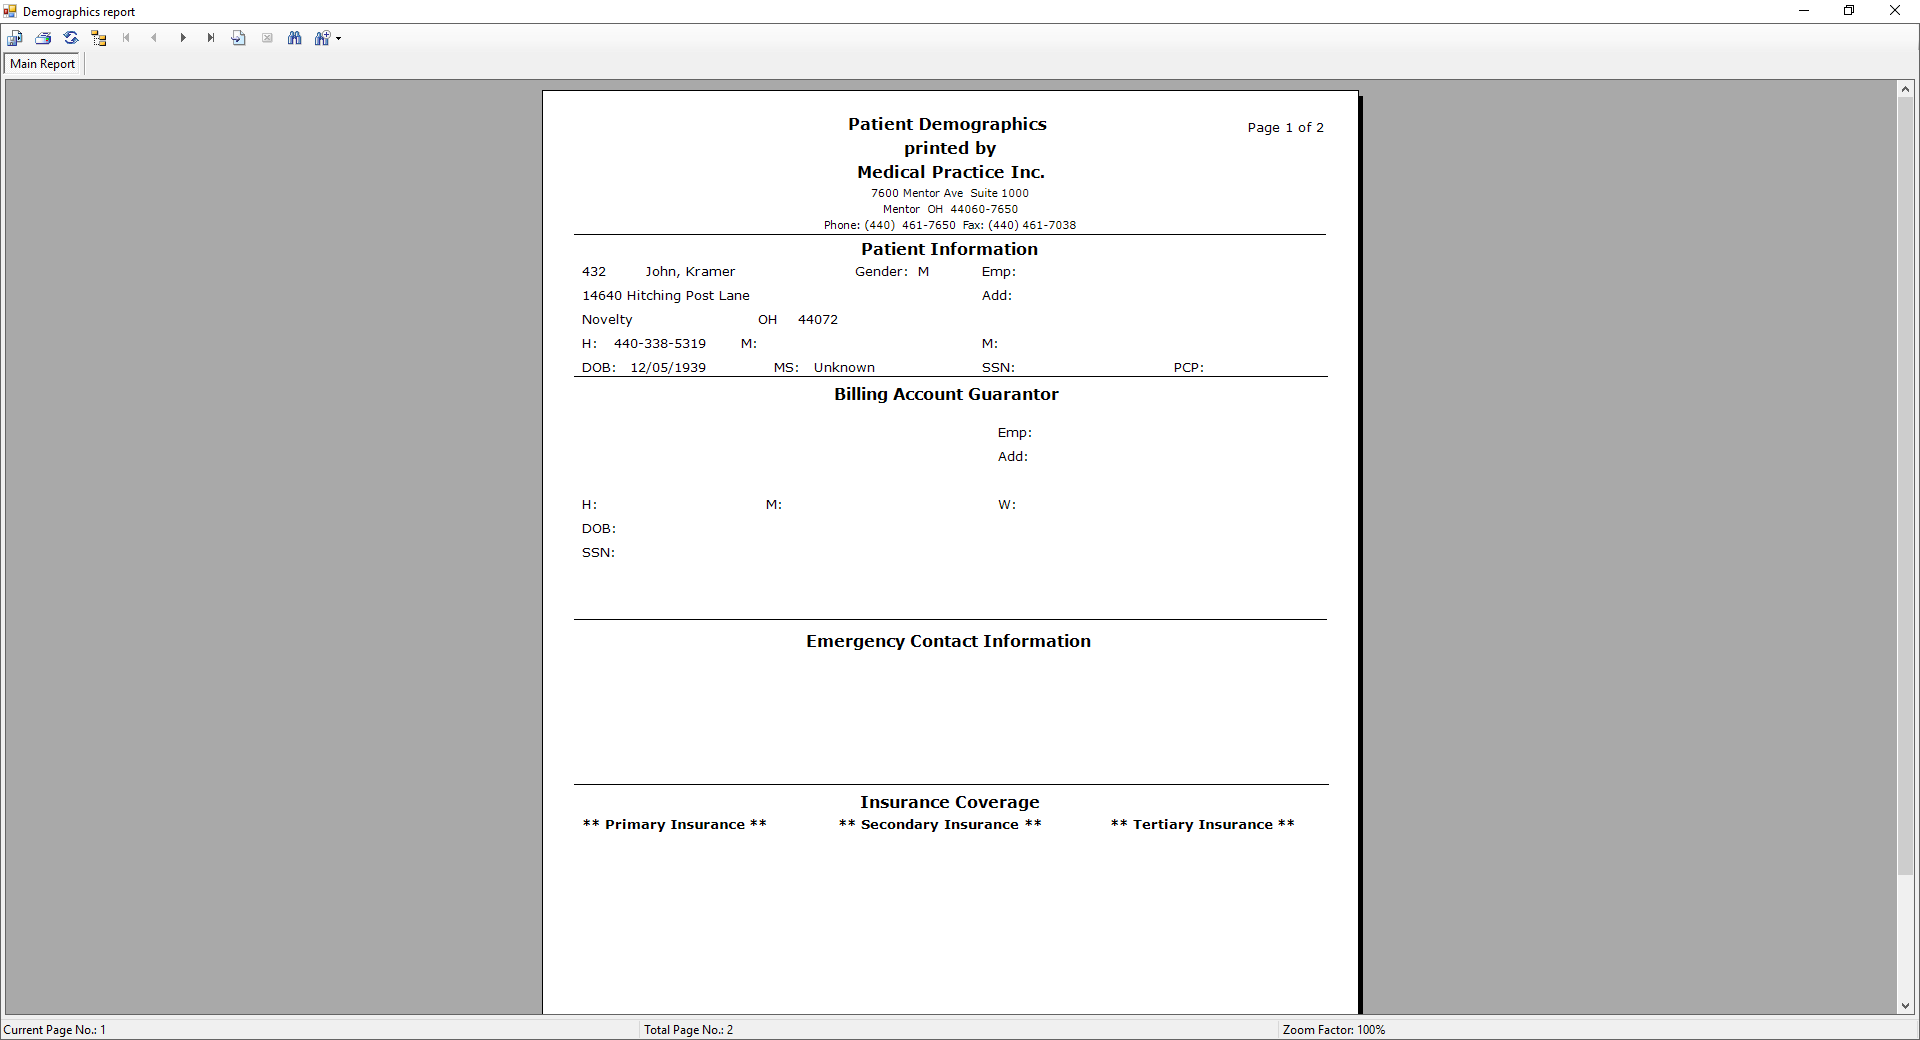
- Print or export the report as needed.
Connect
1220 E 7800 S, Floor 3
Sandy, UT 84094
Toll-Free (888) 337-4441
