
Configuring Intake Forms
- Appointment Reminders User Guide | Connect Patient
- Portal Login
- Viewing Signed Consent Forms | Connect Patient
- Showing/Hiding Test Results Section in the Connect Portal
- Telehealth Visits
- Logging Into the Patient Portal
- Changing User Passwords
- Creating User Accounts
- Updating Locations in Connect Patient
- Configuring Intake Forms
- Sending, Viewing, and Printing Intake Forms
- Resetting Patient Passwords
- Managing Patient Health Records
Intake forms are a way for the practice to get information from a patient via an electronic form, and transfer that data to the CL software. To create intake forms, first you must be logged in as the manager account, or as an manager privileged account.
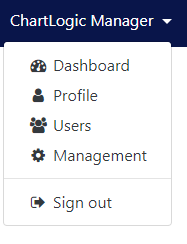
- Select the User list in the top right corner.
- Click Management
- Click Intake Forms
- System will show a template list and Intake Form List
- Select a template to view information about that template
- Click add to create a new template

- When adding or editing a preexisting template, you can add or remove sections as you wish or update or change the name of the template.
- Patient Identity will collect information such as First, Middle, and Last name, Nicknames, E-Mail address, SSN, DOB, and Gender.
- Patient Demographics will collect information such as Sex, Gender Identity, Sexual orientation, employer, employment status, Marital status, Race, Ethnicity, and Preferred language.
- Patient Location will collect information such as, Address, City, State, Postal Code, Country, Home and Mobile Phone Numbers.
- Responsible party will collect information as to who’s responsible for the bill and their name, address, phone, SSN, and Email address.
- Emergency contact will collect information as to who the patient would liked to be contacted in the case of an emergency. It will collect Names, address’s , Phone numbers, Relationship and Email addresses
- Insurance will collect information relevant to the insurance carrier of whom the patient uses. It will collect coverage order, in the case of multiple insurances, Effective date, insurance company name, address information, Subscriber name, and DOB, Policy Number, Member Number, Group number, and Group Name.
- The History sections are built so the practice will have to configure the History items that are presented to the patient to choose. To build these lists, you will need to go into each section and build them by clicking the Edit pencil next to them when editing the template.
- After Clicking the pencil, you will click Add to enter your first option
- Search the items you wish to add, A list will appear based on your search criteria.
- Select the option that best fits what you are wanting to be shown in the particular history section.
- Once you select an option, you will be giving a choice as to how you wish the option to be presented to the patient, Select the best option then click save.
- Complete steps 8 through 10 until history section is complete. Steps 6 through 10 will have to be done for each section you are wishing to collect data on via the intake form.
NOTE: By adding the information for history items into a specific intake form, it does not prepopulate the data into other intake forms containing History. This process would need to be completed again for any Intake form created with history items attached.
Copying Intake Forms
To copy an intake form you will need to sign in as your manager account, click the drop-down in the upper right, and choose management:
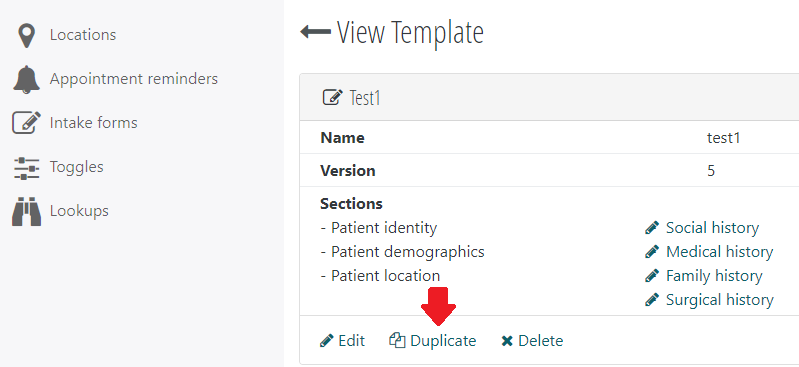
Once you do that click on Intake forms on the left, and then click on an existing intake form.
From there click Duplicate and your existing Intake form is now copied and available for editing.
Adding Free Text Questions to Intake Forms
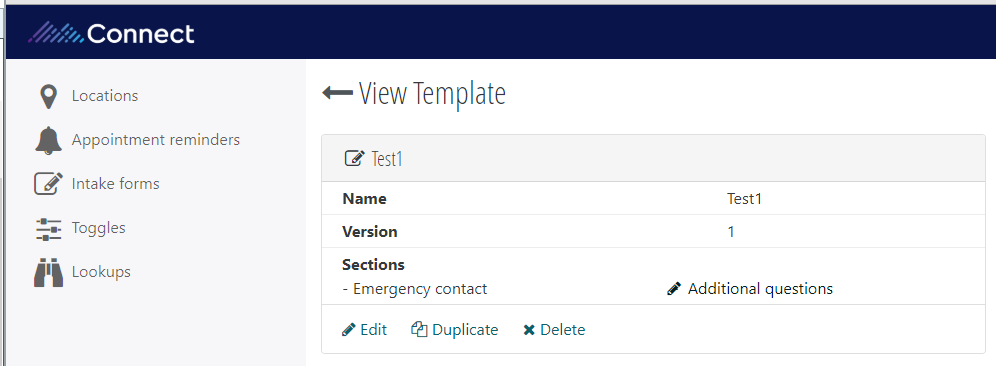
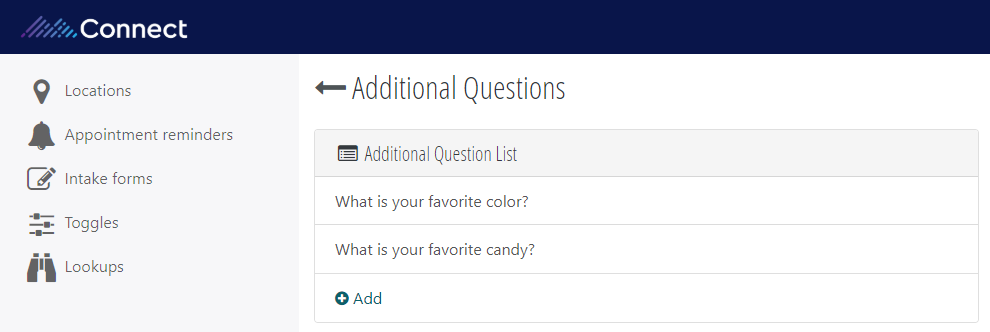
To add custom questions to an intake form, click on “Additional questions” when adding or editing an intake form in the Patient Portal.
After you save, there will be an option to edit the questions in the Intake Form details page. Click “Additional Questions” to edit this section.
Click “Add” to add a question.
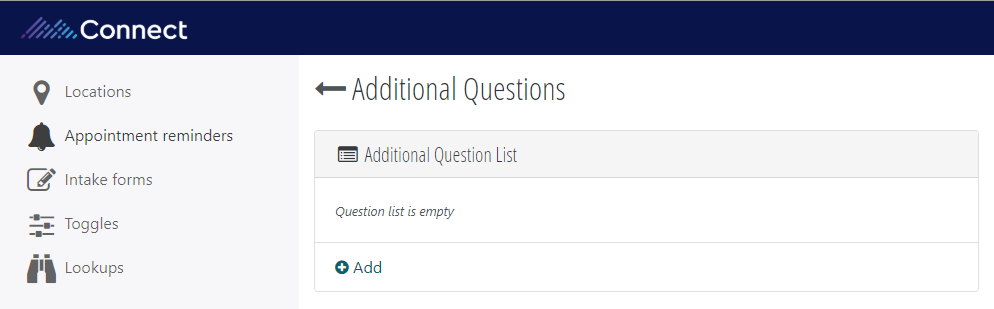
Enter the text of the questions, and click “Save”.
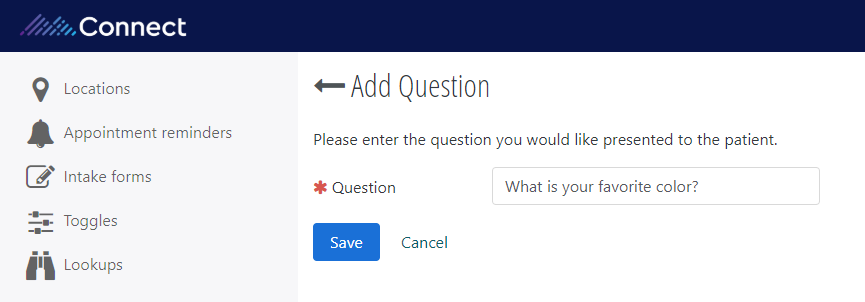
You can add multiple questions, or edit, questions. To return to the Intake Form details page, click the arrow to the left of the page header.
When the patient is answering the custom questions, it will look like this:

Connect
1220 E 7800 S, Floor 3
Sandy, UT 84094
Toll-Free (888) 337-4441
