
WinPM 3.4 New Features
Transaction Sub Codes
Transaction Sub Codes will allow you to further specify the reason or source for a payment or adjustment.
The list of Transaction Sub Codes is accessed from the Tables menu.
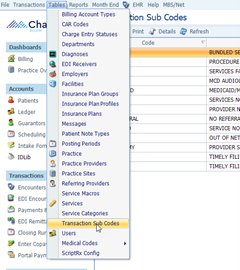
The list of existing codes is displayed, and you can edit existing or create new codes just like any other WinPM code table.
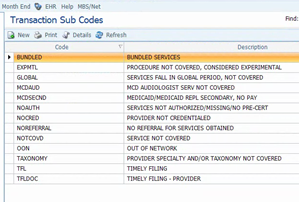
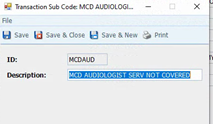
The detail consists of a code ID and Description.
The Tx Sub Code can be added when posting a payment/adjustment.
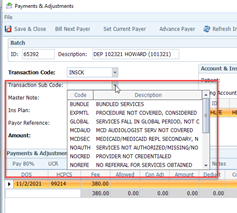
The Tx Sub Codes can be added, edited, or removed on the TX Edit form:

Small Balance Write-Off
There is now a function to write off small balances on all Billing Accounts.
From the Repots menu select Small Balance Write-off
When selected the Small Balance Write-Off form will open. The Maximum Balance will default to you Minimum Statement Balance but may be set to any value you wish. After clicking the Search button the grid will populate with any Billing Accounts that have an account balance less than or equal to your Maximum Balance.
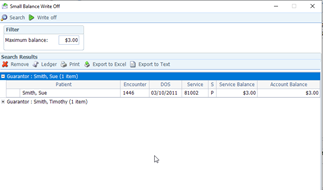
Just like the Update Billing Account Types function you may expand the Billing Accounts to see Patient detail, view the Ledger and remove the selected account from the list. You may also print or export the list in Excel or text formats.
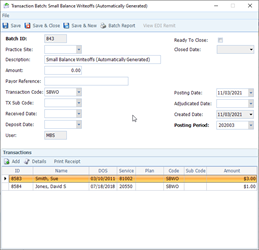
When the list is correct and you are ready to write-off the balances, click the Write-Off button. You will be prompted to select an existing Pay/Adj Batch or create a new one. WinPM will then create the write-off transactions and give you a message when it has completed. The transactions are written into the existing or new Pay/Adj Batch and can now be viewed, edited, and closed like any other batch.
Collection Write-Off and Export
The Update Billing Account Type function can now be used to move Billing Accounts to a collection status and write-off the balances being sent to collection.
The search and list functions have not changed. After searching for and finalizing your list of Billing Accounts, clicking the Update Billing Accounts button has new Export section.
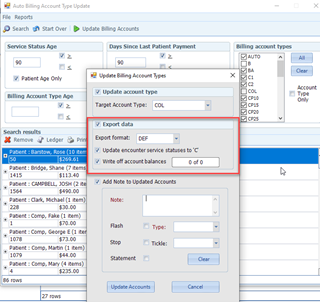
To move to collection status and write-off the balances on the services, click the export box. Currently “DEF” or default is the only export format. Whether or not you intend to send a file this option will be selected. You may then choose to change the status of the services to “C” and write-off the balances. Usually both options would be selected. Selecting a Target Account Type and adding notes to the accounts continues to function as they have in the past.
When you click Update Accounts you will be prompted to select and existing Pay/Adj Batch or create a new one. You will also need to provide a Transaction Code and optionally a Transaction Sub Code to use for the write-off adjustments.
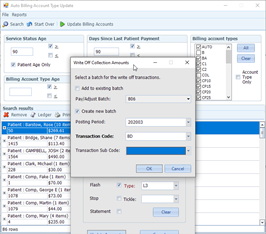
After clicking OK WinPM will then create the write-offs, change the service status, update the Billing Account Type and add Notes as appropriate for the options you selected. When the process is finished you will get a confirmation message.
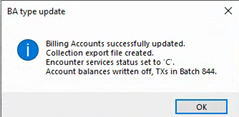
The Pay/Adj Batch you selected or created may now be edited and closed as usual.
Connect
1220 E 7800 S, Floor 3
Sandy, UT 84094
Toll-Free (888) 337-4441
