
Some practices collect the Patient Co-pay upon checkin, while other collect the Co-pay at checkout. Either workflow is fine, as long as the Co-pay is entered into MBSWin at the time of collection. Doing so allows for the following:
- Provides a printed receipt for the
- Adds the credit to the Patient account that can be posted to actual Encounter at a later time or
- Creates a Batch report of posted dollars, separate from insurance remittances and other Payments/Adjustments, making them easier to
Co-payments, like all other Payments and Adjustments, are processed in Batches. The usual workflow is to open a Batch first thing in the morning, into which all of the day’s Co-pays will be entered. The following is a summary of the steps for processing a Co-payments:
- Create a Payments & Adjustments Batch specifically for the day’s Co-pays.
- Enter Co-payments throughout the day at the time of payment.
A. Create a Payments & Adjustments Batch specifically for the day’s Co-pays
This step is performed only once, at the beginning of the day. Once the Batch has been created, all subsequent Copays for the day will be applied to it.
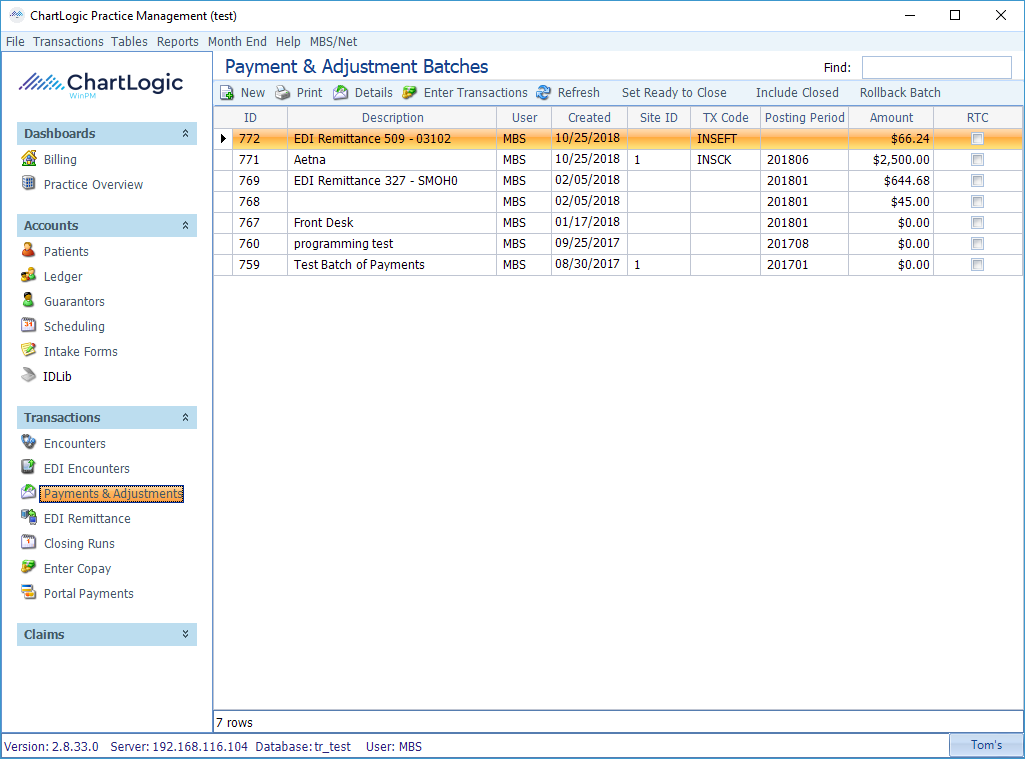
- From the Transactions menu on the left side of the screen, click to select Payments & Adjustments.
The Payment & Adjustment Batches will appear, showing the existing open Batches (see below). Check to make sure there is not already a Copay batch open for the current day (if there is, use that Copayment batch for the day, rather than creating a new one).
- To create a new Batch (if one does not already exist), click New on the
A New Transaction Batch form will open, as shown below.
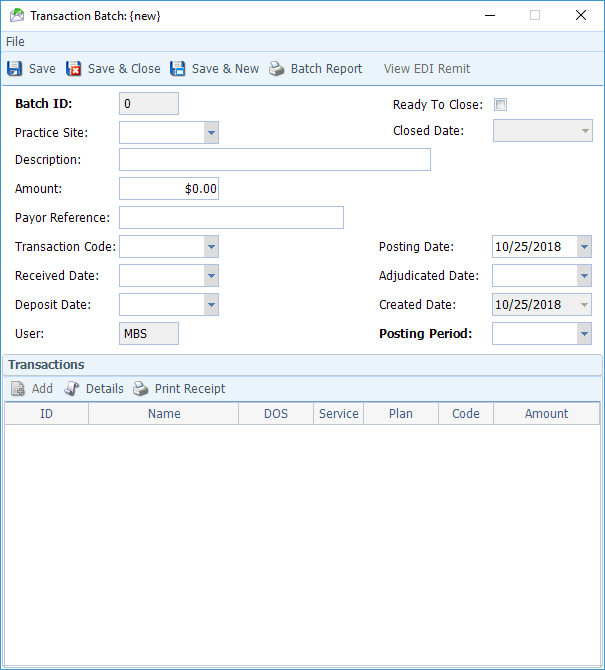
- Select your Practice Site from the drop-down.
- In the Description field, enter something descriptive, such as “Copays for [date range]”.
- In the Posting Period field (required), select the current Posting Period from the drop-down.
- Save & Close.
A Batch ID will be assigned to the Batch, and it will be ready for processing transactions, as needed.
B. Enter Co-pays throughout the day at the time of payment
Copays are entered from the Patient record. Perform the following steps for each Patient Copay at the time of payment:
- From the Accounts menu on the left, click on Patients.
- Search for and select the desired Patient from the database.
The Patient form will open, at the top of which is a toolbar, as shown below.

- Click Enter Copay on the toolbar.
The Add Copay form will open, as shown below.
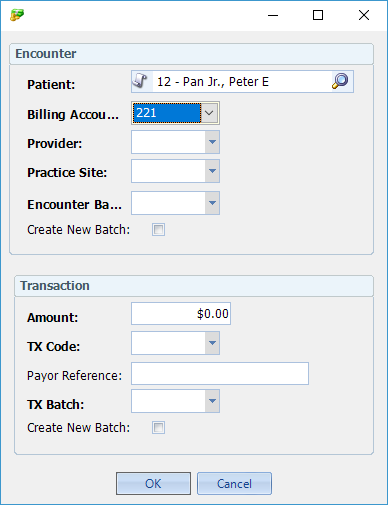
- Select the correct Billing Account from the drop-down.
- Select the Provider to whom the payment should be credited.
- Select the Practice Site where the service is taking place (a practice may have more than one practice site and will set up a copayment batch by site to begin each patient day).
- Select the Encounter Batch into which the Patient’s Encounter will be entered.
The drop-down will display a list of open Batches, as shown below. This is different than the Payment Batch you created earlier, as the Encounter Batch represents charges, not payments. Later, after an Encounter has been processed for the Patient’s visit, the Copay will be applied against the charges contained therein. If the appropriate Encounter Batch has not yet been created, check the Create New Batch box.

- Enter the Copay amount in the Amount field.
- Select the appropriate TX Code (e.g. cash, credit card, etc. )
- Select the appropriate TX Batch from the drop-down.
The drop-down will display a list of open Payment/Adjustment Batches. The Payment Batch you created earlier should appear on the list. If this is the first Patient Copay of the day, and you didn’t have a chance to create a Batch yet, check the Create New Batch box.
- Click OK.
A dialog box will appear confirming the Copay and asking if you want to print a receipt.

- Click Yes if you wish to print a receipt.
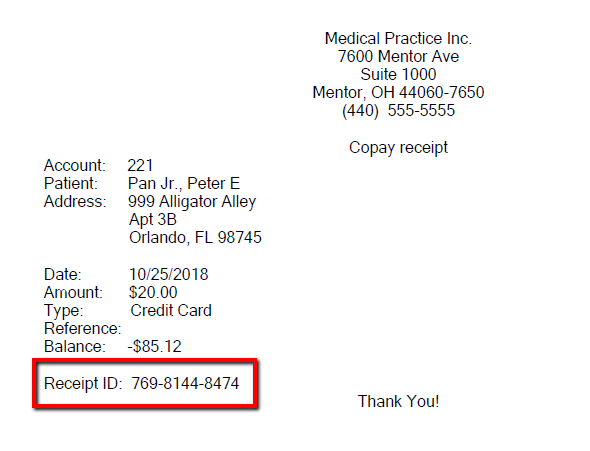
A receipt will print, as shown below. Although generic looking enough to be replicated in Word, it is authenticated by the Receipt ID, which is a combination of the Payment Batch ID, Master ID, and TX ID.
- The process is complete. Close the Patient form.
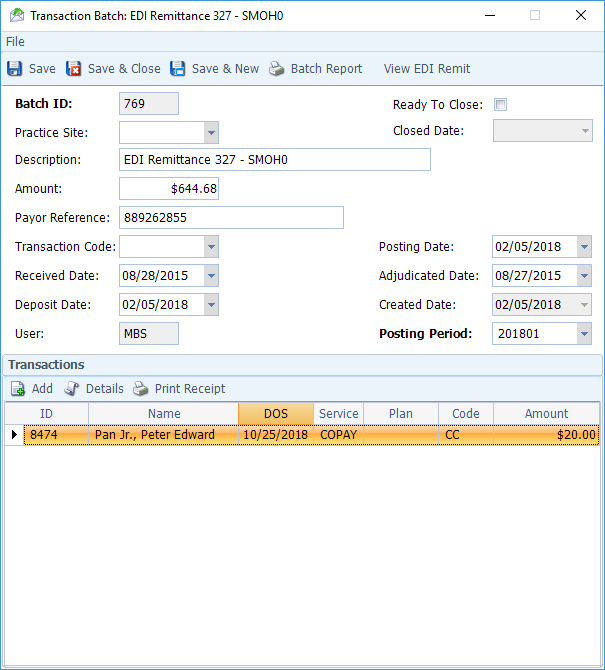
If you now look at the Transaction Batch, you will see the payment listed, as shown below.
Connect
1220 E 7800 S, Floor 3
Sandy, UT 84094
Toll-Free (888) 337-4441
